Many of our clients request English and Hebrew websites and ever since WordPress 3.0 made WordPress Multisite a breeze to install, we’ve been using it so that clients can manage all their sites from one Dashboard.
Logically, our clients want the Hebrew website to have a Hebrew Dashboard. However, out of the box, WordPress Multisite defaults to English, and needs a bit of tweaking to localize the Dashboard into the language of your choice.
(Friendly warning: if you don’t change the Hebrew Dashboard into Hebrew, the post/page Editor is really problematic and usually messes up alignment and styling on the site.)
So here’s how to localize a site within WordPress Multisite into Hebrew, but you can apply the same general rules for any language.
Download Hebrew WordPress from the Hebrew WordPress website and copy the language folder or use this zip file of the language folder (from WordPress version 3.2.1). Upload the language folder into you’re site’s wp-content folder.
2. Add the following to wp-config.php: define (‘WPLANG’, ‘he_IL’);
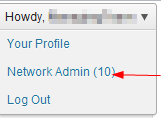
3. Go into your Network Admin Area by clicking in the top right corner on Howdy, YourName and click on Network Admin

4. In the left Navigation menu, click on Sites > All Sites

5. On the Hebrew site, click Edit
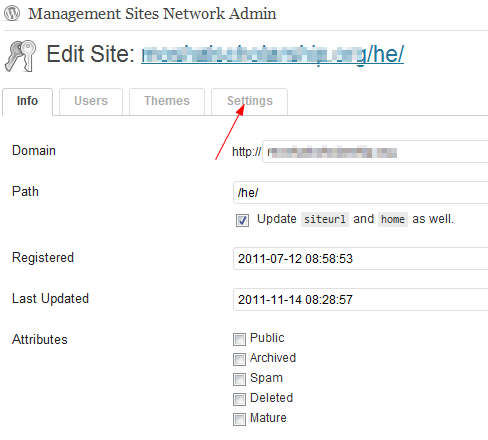
6. Once you’re in the Edit Site area, click on Settings

7. Once you’re in the Settings tab, search for the line “WPLANG” and fill in the language reference code such as he_IL.

Or, as Andrea pointed out, you can go into the Hebrew site’s General Settings and switch the language from there.
That’s it!


