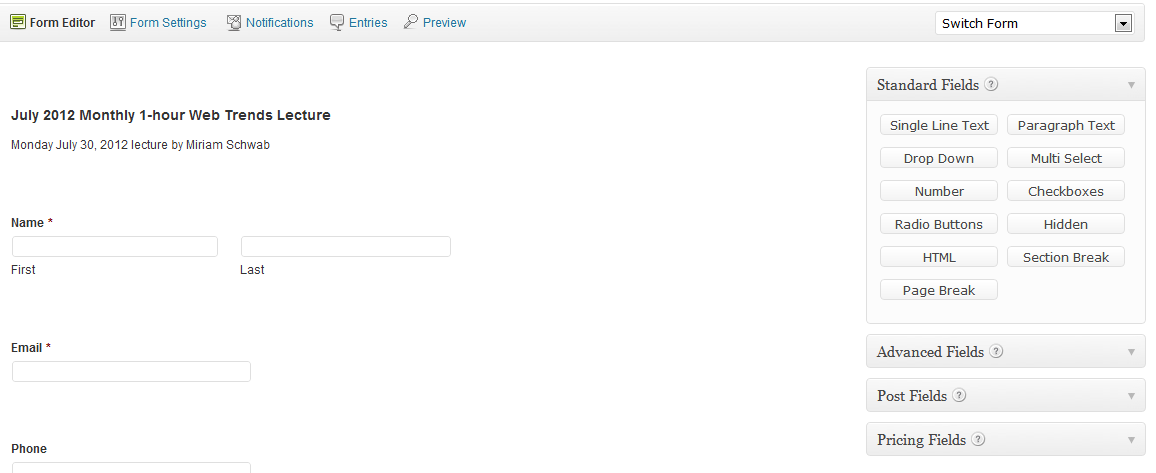
We are huge fans of Gravity Forms (so obviously we’re an affiliate), a premium WordPress plugin for creating forms, because nerdily enough, it actually makes creating forms kinda fun. But most importantly, Gravity Forms makes it really easy for our clients to create forms and enter them in pages, posts and widgets. Do you remember the cforms plugin and how complicated it was? Thank God that’s behind us!
Not only is Gravity Forms easy to use, it is also a robust plugin including the option to add many different addons. Because of this, we are always learning new things about it. Here are some things we’ve learned lately. Please let us know what else you’ve learned about Gravity Forms.
Conditional notifications
Sounds fancy, but it just means that you can send a response to someone based on something they selected in the form.
For example, every month, illuminea broadcasts a webinar where participants can choose to watch the webinar in-person at illuminea headquarters or online via livestreaming. We have two confirmation emails and Gravity Forms needs to send the right one depending on which option the person chose.
Here’s what our notification looked like using conditional shortcodes in Gravity Forms (just remove the spaces next to the brackets):
Thanks for registering for the Latest Web Trends for Marketing Professionals event with Miriam Schwab on July 30, 2012 at 10am!
[ gravityforms action=”conditional” merge_tag=”{Location:6}” condition=”is” value=”Attend at illuminea headquarters.” ]
Directions can be found here: http://www.illuminea.com/contact-us [/gravityforms]
[ gravityforms action=”conditional” merge_tag=”{Location:6}” condition=”is” value=”Watch it via live streaming! We’ll email you a link.” ]
Here’s the link to watch the webinar LIVE: http://example.com [/gravityforms]
Validation messages for other languages
For our Hebrew WordPress sites, we needed a way to display the error/validation messages in Hebrew. Just as I started looking into complex solutions, someone pointed out that I could just use the “Validation Message” field in the Advanced tab to do the trick! So handy!

Fixing the tabbing issue on pages with more than one Gravity Form
One of the sites we built had a form in the footer that let people sign up to become a contributor to the blog. That was fine and dandy everywhere on the site except for the Contact page, which obviously displayed another form. As I filled out the contact form and pressed Tab to go to the next field, the cursor jumped down to the footer’s contributor form. Tab again, and back up to the Contact form! Although this gave us a good laugh, it wasn’t exactly great usability. Gravity Forms offers the following solution to create a filter in your functions.php that alters the “tabindex”.
For example, this changes form id#10’s tabindex start value to 4
Notification emails to user – adding line breaks
On one of our forms, whenever a user filled out the form, they would get an email notification with all the text on one line without paragraph breaks, even though everything looked all nice and neat in the Notifications editor in Gravity Forms. Turns out a little checkbox makes all the difference! All you need to do is disable the auto-formatting and then the notification will save the paragraph breaks you created in the visual editor.
![]()
Matching Gravity Forms fields to SalesForce fields
Gravity Forms makes it super easy to connect your Gravity form to SalesForce. All you have to do is insert your SalesForce key in the Gravity Forms Options page. Unfortunately, although that was easy enough, some of the fields’ content didn’t arrive in SalesForce.
In order to get the problematic fields to integrate with Salesforce properly, we did the following:
- Get your SalesForce rep (or, if you’re a SalesForce genius, then maybe you can find it yourself) to give you the HTML web form code.
- In the problematic field, go to the Admin Label and enter the SalesForce “name” of the field.
Example #1 – basic fields
The code for the First Name field, which initially wasn’t working, looks like this:
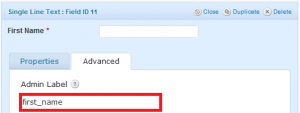
We opened up the Advanced settings of the First Name field and entered “first_name” in the Admin Label.

Thankfully, it worked like a charm.
Example #2 – custom fields
In the case of custom fields like a dropdown menu of Countries, the label “Country” wasn’t enough. The code from Salesforce looks like this:
Country:

